Hidden heat . . . Most people understand that storms transport moisture from the oceans to continents. But, another important aspect of storms, often over-looked and not well-understood, is that they transport heat as well. It's easy to convince students that water molecules in those snow-flakes falling outside evaporated from the ocean a few days ago, however convincing them that storms transport heat is a tougher sell. Actually, the two (moisture and heat) are closely related. As water molecules evaporate from the ocean, they absorb heat in order to make the phase change. Then, as that vapor changes back into liquid droplets in a hurricane or ice crystals in a winter storm, this heat is released into the surrounding air. Called latent heat, this is the "energy" that fuels hurricanes and the warmth of Chinook winds, and it plays an important role in microbursts and other interesting things that happen in the real world.
Seeing is believing . . .
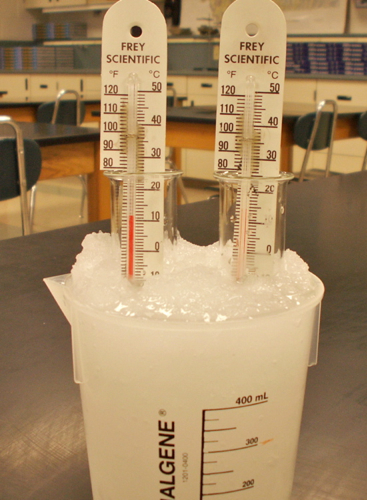
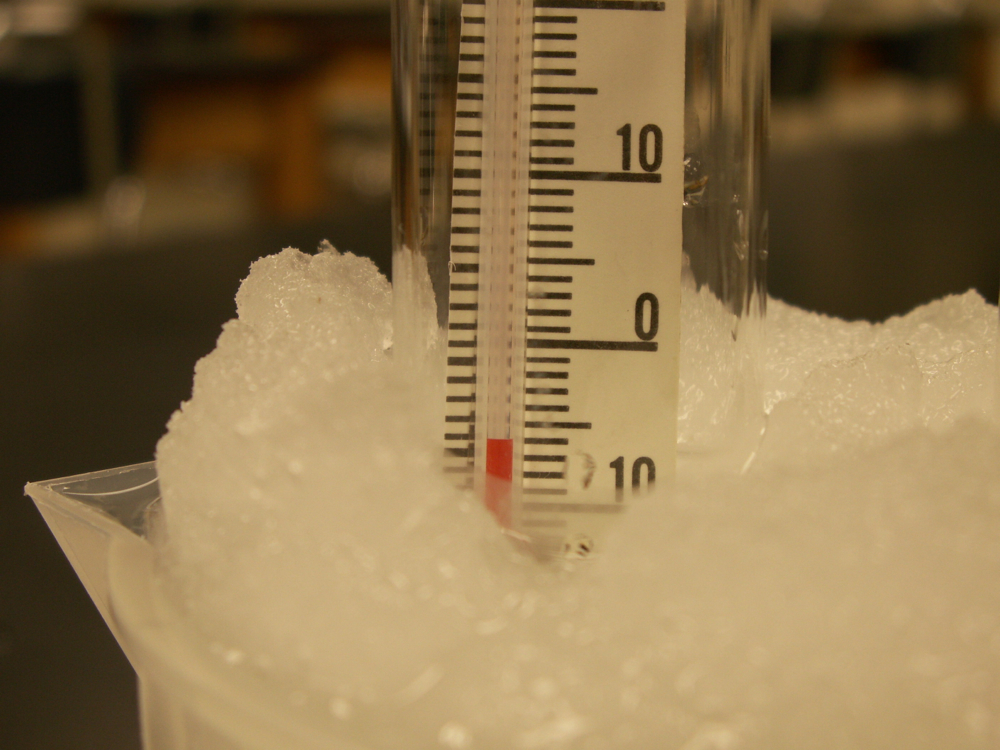
The best thing about this activity is that students actually get to watch the temperature of water rise dramatically as water freezes right before their eyes! They will use a beaker of salty slush to super-cool (-5 C) two test tubes of water. Then they will "trigger" the freezing. As the water molecules change from liquid to ice (sometimes within seconds), they release latent heat. This causes the temperature of of thermometers in the water to rise (soon after the freezing starts). The show doesn't last long, but it is fun to see the look of surprise on students' faces as they watch it happen. After you've read this web page, watch the YouTube Video below to learn how to do the activity.
Context/Background . . . Before I my students do this lab, they learn about Chinook winds and microbursts. Soon after the lab, they learn about hurricanes. All three are examples of real-world applications that involve latent heat. My students are introduced to supercooled water a few weeks before the lab, which works out nicely since students will be supercooling water in the lab (photo).
Resources . . . It's important that you have a good understanding of latent heat before your students do the lab. Here are some resources that you can read/watch to strengthen your background:
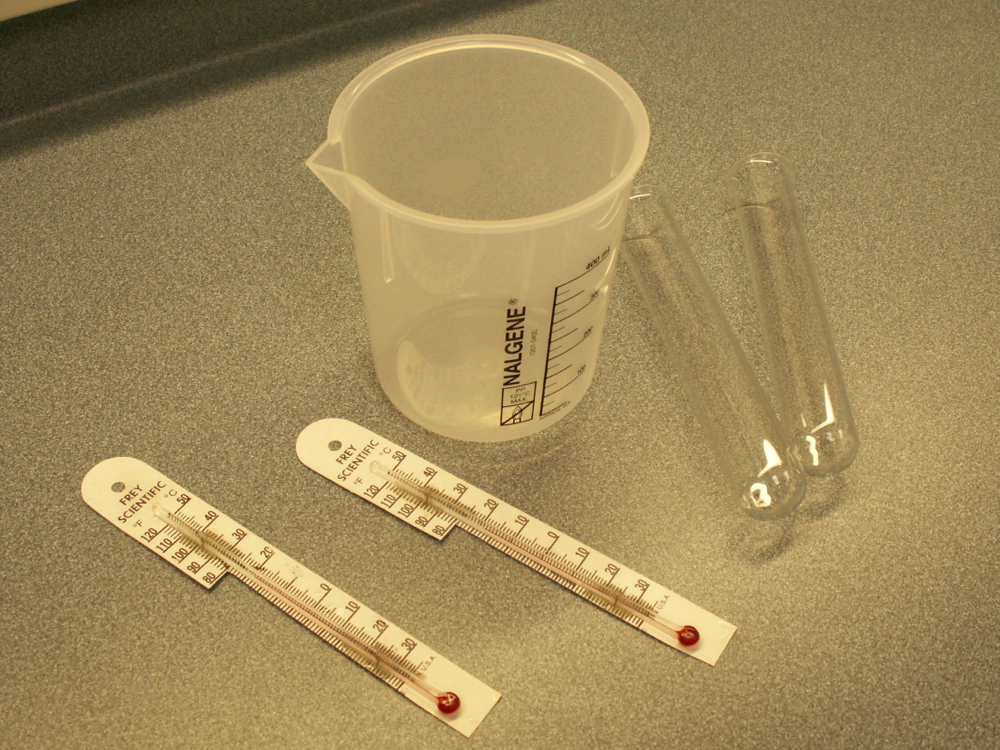
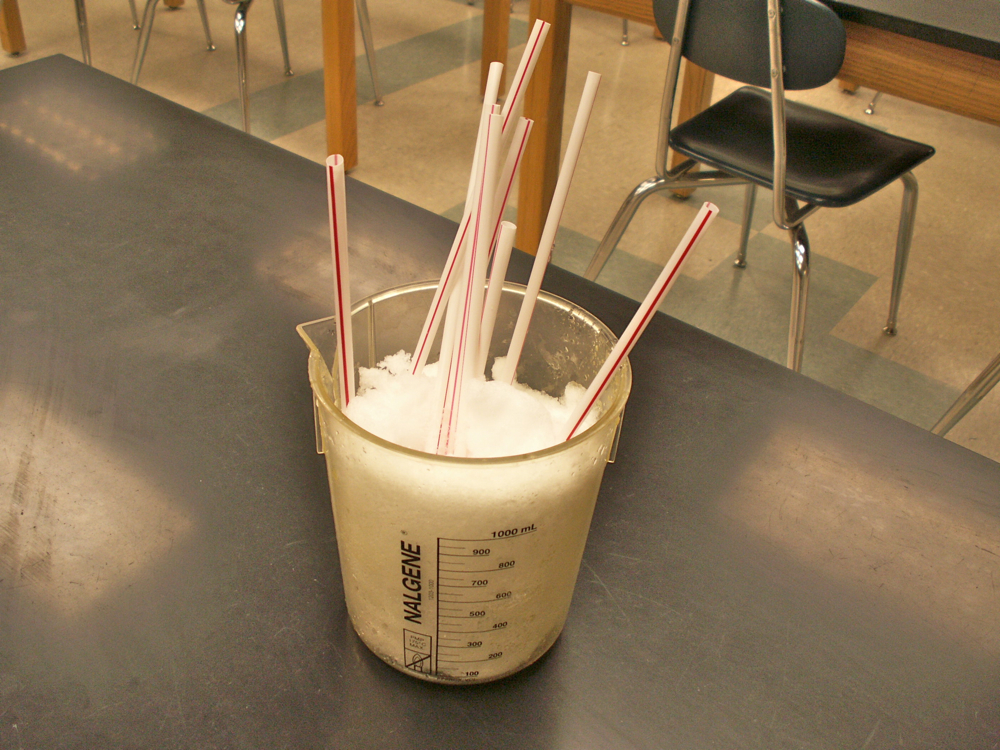
Materials . . . Each group of students will need these materials (photo) to get started: 450 mL plastic beaker (or similar container), 2 test tubes (25 mm x 150 mm or similar), 2 modified plastic-back thermometers, a drinking straw (or similar device: wood splint, plastic knife, etc.)
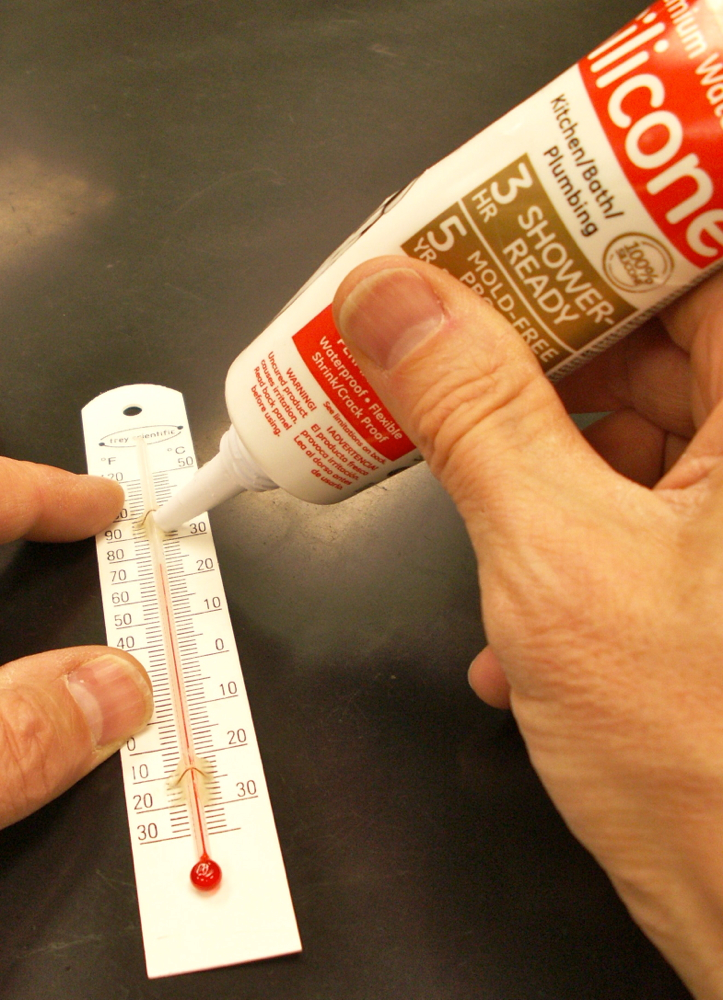
Use thermometers with plastic backing. They will last much longer if you dab a little silicon caulk beneath the thermometer and the backing as soon as you get them (here). Cut away the plastic backing at as shown here so that the thermometers will fit inside the test tubes.
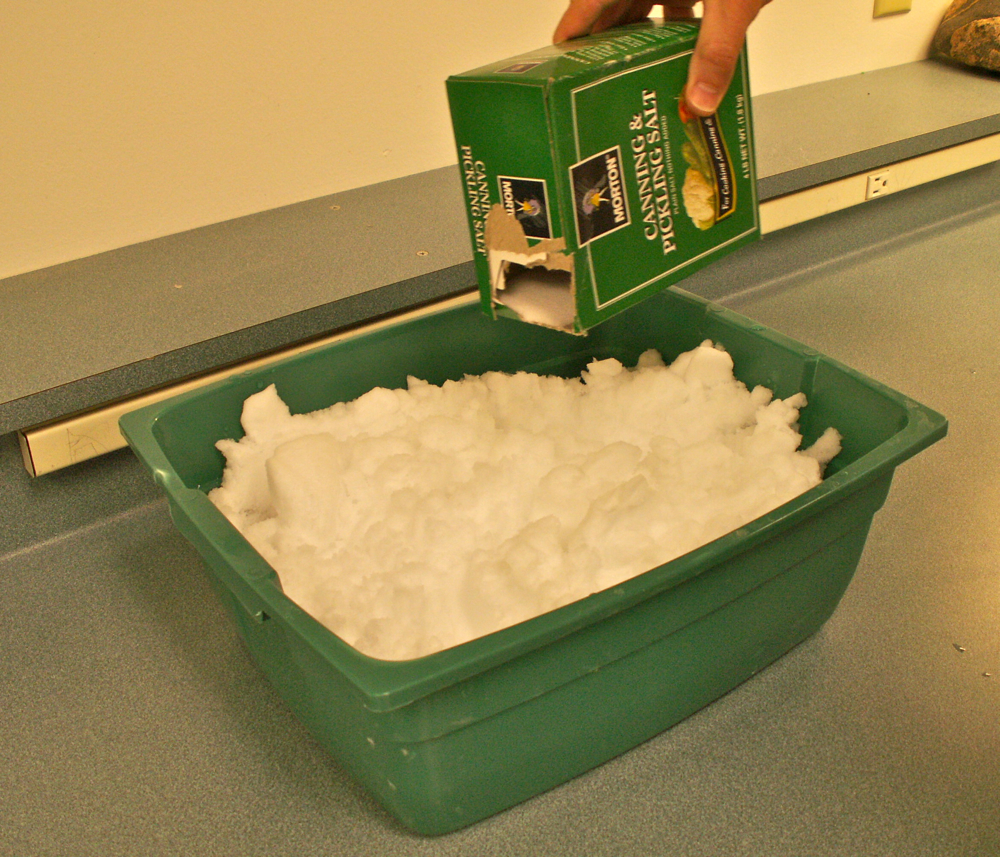
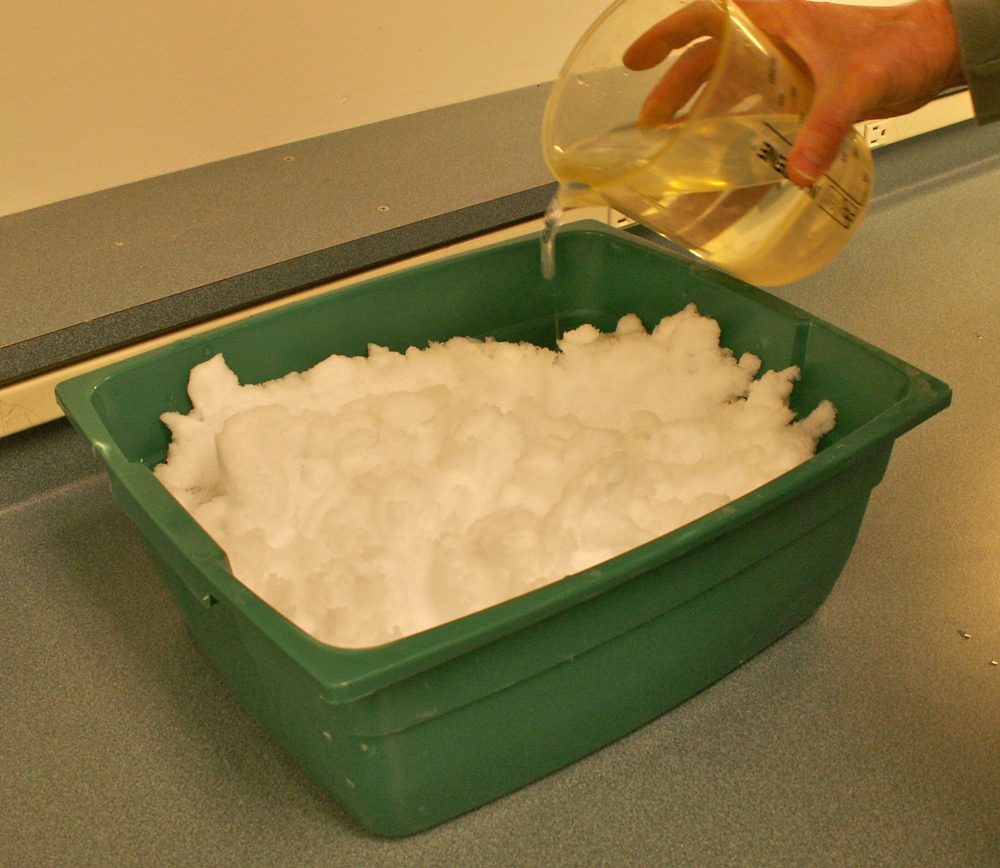
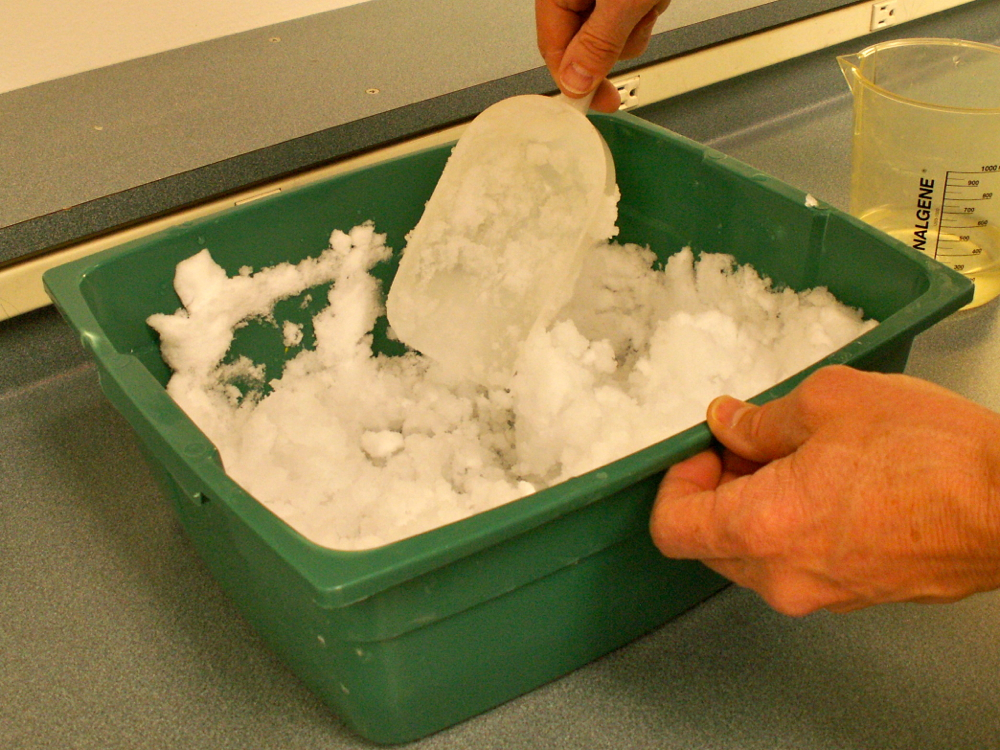
To make the slush, which will be used to super-cool the water in the tubes, mix snow (or ice), salt, and water. If you don't have access to snow, ice (especially "crushed ice") should work. I keep the snow in a big cooler (photo), and I prepare the slush in a plastic box like the one shown here. First fill the box with snow, sprinkle about 100 mL of salt over it (photo), add water (photo), stir (photo), and repeat. I repeat this until I have a box full of slush, which is enough for 10-12 groups. The slush should be fairly thick. I end up using about 500 mL of salt to make the original box of slush. Students should put their used slush back in the box after the activity. Between periods, I drain some water off, and add more snow and salt. By the end of the day (5 class periods), I have go through about 800-1000 mL of salt (which includes the 500 mL used to make the initial batch).
Trial #1 . . .
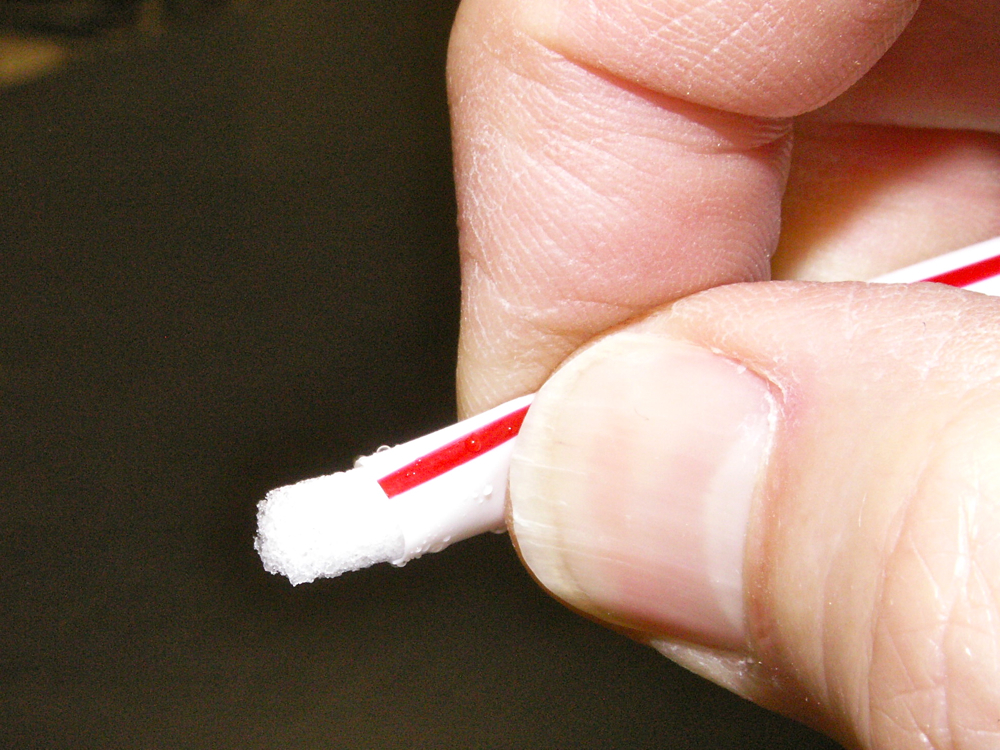
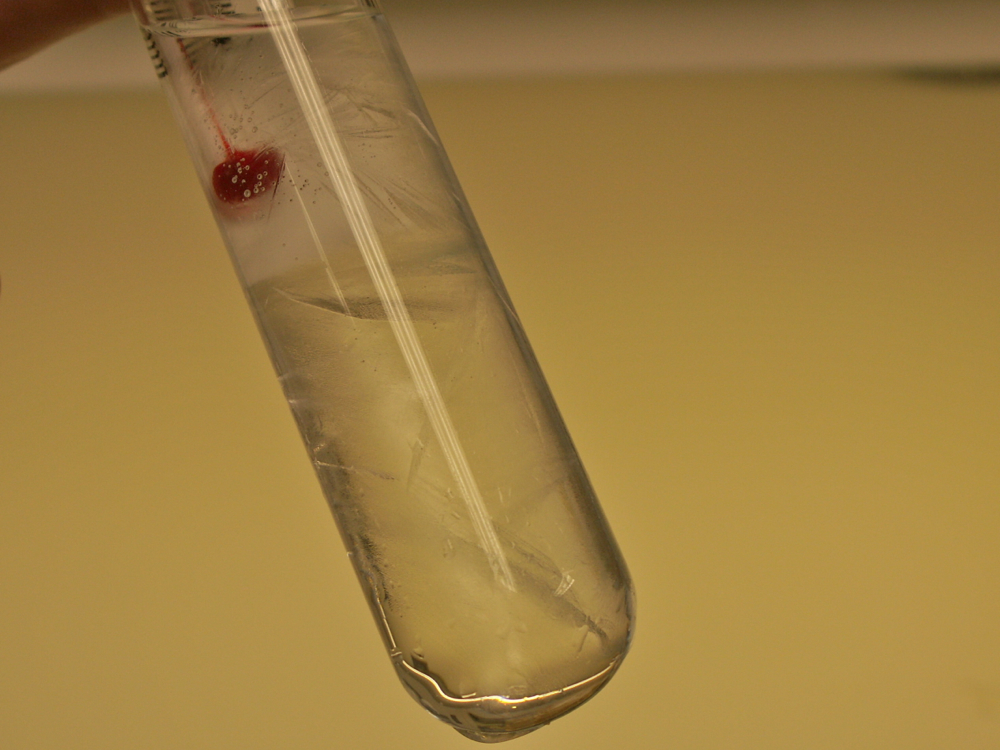
Follow the instructions on the student-handout and use this PowerPoint to do the pre-lab questions together, before getting students started. It works best if you are the one that puts the slush in their beakers. As you do, remind them to empty the slush back into the big box as they finish the activity. When students get the tapwater in the tubes cooled to at least -5 C (photo), they will carefully remove one of the tubes from the slush. To make it freeze, students can drop a tiny clump of snow (not salty slush) into the super-cooled water. One way to do this is to use a drinking straw. They can insert the straw into a beaker of fresh snow to get some snow into the end of the straw and then squeeze a little plug of the snow into the tube as shown here. Other possible tools to use here include wood splints, plastic utensils, etc. Keep the beaker of fresh snow in a cold place so it doesn't get slushy (photo).
The water should begin to freeze and they will see crystals form over the next several seconds (photo). Seconds after it begins crystallizing, they should notice the temperature rising. Fortunately, the water does not freeze solid (which might cause the tubes to break) because enough heat is released by the water molecules that do freeze.
Trail #2 . . . They should do the same thing with the other tube. Hopefully, this time they will pay more attention to the thermometer, so they can see how the process of freezing causes the temperature rise. Consider having students tell you when their tubes have reached -5 C, so you can bring them the fresh snow and make sure they know what they're doing. You might even want to be the one to drop the snow into the tube so that they can focus on watching what happens (at least on the first trial).

 Hidden heat . . .